A bidet seat is a modern bathroom upgrade that offers enhanced hygiene and comfort. It is a toilet seat with built-in water sprayers designed to cleanse you after using the toilet. This simple yet effective addition can transform your daily routine providing a fresh and clean feeling every time.
Bidet seats are not just about cleanliness they also contribute to a more eco-friendly lifestyle. By reducing the need for toilet paper they help save trees and minimize waste. Easy to install and use bidet seats are becoming an essential part of contemporary bathrooms combining convenience with a touch of luxury.
What is a Bidet Toilet Seat?
Before we jump into fixing leaks, let’s quickly cover what a bidet toilet seat actually is. A bidet seat also known as a washlet or hygiene fixture is a bathroom accessory that attaches to your existing toilet. It uses a water sprayer to clean you after using the toilet offering improved hygiene and comfort. These nifty devices have been gaining popularity in the US with many homeowners discovering the joys of a cleaner fresher bathroom experience.
How to Install a Bidet on a Toilet Seat?

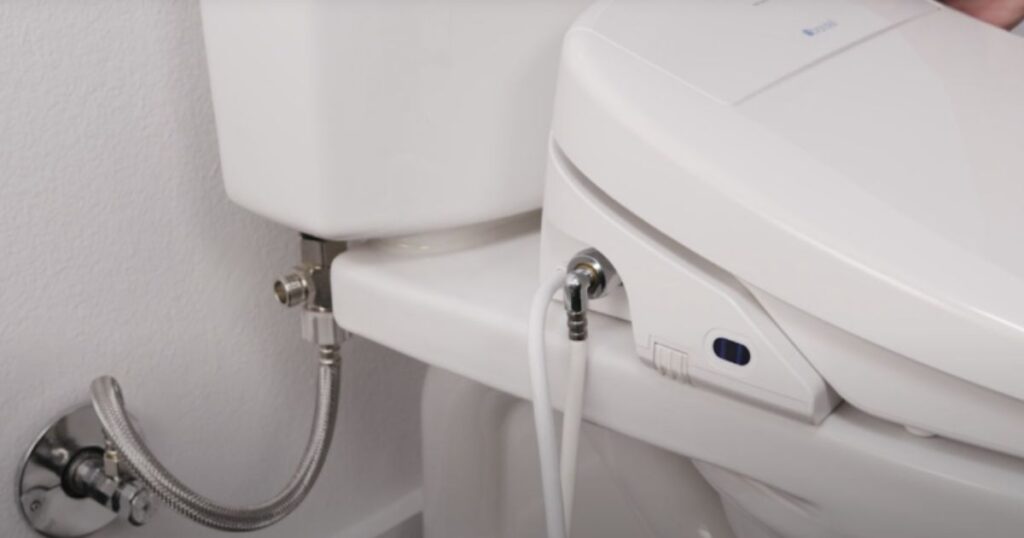
Installing a bidet on your toilet seat is surprisingly straightforward. First, you will need to remove your existing toilet seat and attach the bidet seat mounting bracket. Then, connect the bidet’s T-valve to your toilet’s water supply line. This allows water to flow to both the toilet tank and the bidet.
Next, secure the bidet seat to the mounting bracket and connect the water supply hose from the T-valve to the bidet. Finally, plug in the bidet if it’s an electric model and you are ready to go.Always refer to your specific bidet’s installation manual, as steps may vary slightly between models.
Tools and Equipment You’d Need
Before you start your repair mission, gather these essential tools:
- Adjustable wrench
- Screwdriver set
- Pliers
- Plumber’s tape
- Bucket or towels
- Flashlight
- Safety goggles
Materials
Here is a list of materials you might need for your bidet seat repair:
- Replacement seals or gaskets
- New water supply hose
- T-valve (if needed)
- Silicone sealant
- Replacement nuts and bolts
- Plumber’s putty
- Replacement bidet parts (as needed)
- Cleaning solution
- Soft cloth
- Lubricant (food-grade silicone)
Identify the Source of the Leak

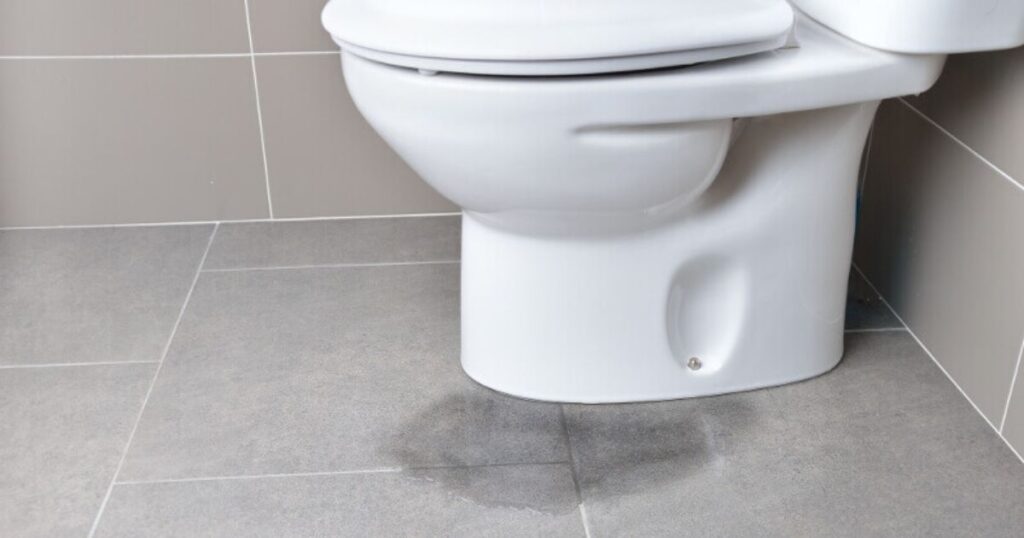
The first step in fixing your leaky bidet seat is to play detective and find the source of the leak. Common culprits include loose connections, cracked seals or faulty internal components. Start by carefully inspecting the entire bidet setup, paying close attention to the water supply hose T-valve and the point where the bidet connects to the toilet.
Do not forget to check less obvious areas too. Sometimes, leaks can originate from inside the bidet seat itself, particularly around the nozzle or where the seat connects to the mounting bracket. If you are having trouble spotting the leak, try drying everything thoroughly and then watching closely as you run the bidet through its cycle.
Step 2
Once you have identified the leak, it is time to stop the flow. Locate the shut-off valve near your toilet and turn it clockwise to cut off the water supply. If you can not find a dedicated valve, you may need to turn off the main water supply to your home. Flush the bathroom to drain any last water from the gadget.
Step 3
With the water off inspect all connections. Use your wrench to gently tighten any loose fittings, being careful not to over-tighten and damage the threads. Pay special attention to the T-valve and the connection points at both ends of the water supply hose. If you notice any worn-out washers or seals now is the time to replace them.
Step 4
Carefully examine all visible parts of the bidet seat. Look for cracks, wear or damage on seals, gaskets and plastic components. Do not forget to check the nozzle and its housing. If you spot any damaged parts consult your bidet’s manual to see if they are replaceable or if you need to contact the manufacturer.
Step 5
If you have found any damaged seals or components, it is time to replace them. Follow your bidet’s manual for specific instructions on how to access and replace parts. When installing new seals or gaskets apply a thin layer of plumber’s putty or silicone sealant to ensure a watertight fit. Be sure to let any sealant dry completely before reassembling.
Step 6
With everything tightened or replaced, it is time for the moment of truth. Turn the water supply back on and run your bidet through a full cycle. Watch carefully for any signs of leakage. If you spot any drips, repeat the process, focusing on the area where the leak is occurring. Sometimes, it takes a couple of tries to get everything sealed perfectly.
Step 7
Congratulations, DIY hero You have fixed your leaky bidet seat. But your job is not quite done. To prevent future leaks and keep your bidet in top shape, establish a regular maintenance routine. Every few months check all connections clean the nozzle and seat thoroughly and run a test cycle to ensure everything is working smoothly. A little preventive care goes a long way in avoiding future plumbing headaches.
Septic Pumping Signs: What To Look Out For

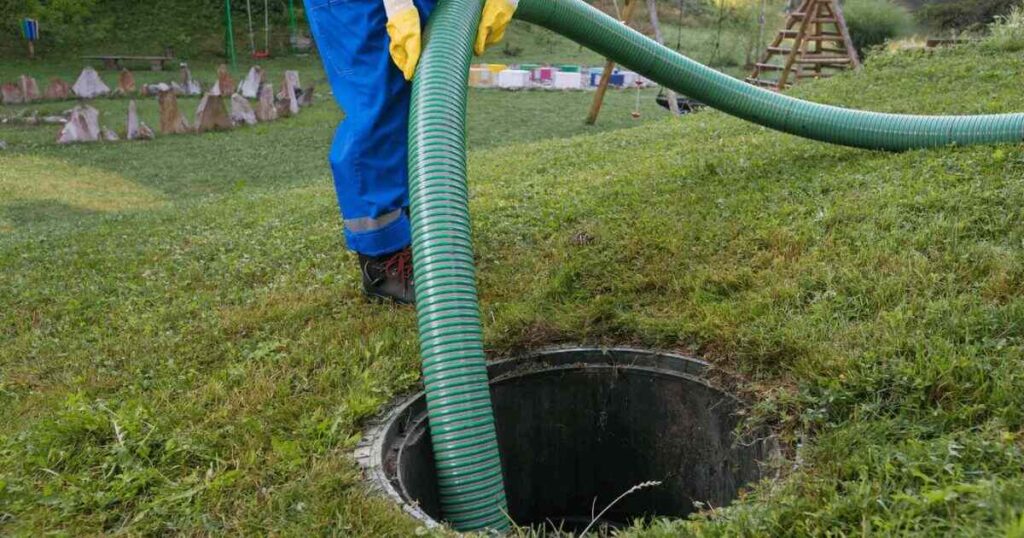
While we are on the topic of bathroom maintenance, let’s briefly touch on septic systems. If you have a septic tank, it is crucial to know when it needs pumping. Watch out for slow drains, bad odors or pooling water in your yard. These could be signs that your septic tank is nearing capacity.
Regular septic maintenance is just as important as keeping your bidet in good shape. Both contribute to a healthy, efficient bathroom ecosystem. If you are unsure about your septic system’s condition, consider scheduling a professional inspection.
How Autonomous Robots Are Shaping The Future Of Warehousing?
Now, let’s take a quick detour into the fascinating world of warehouse automation. Autonomous robots are revolutionizing the warehousing industry, much like bidets are changing our bathroom habits. These robots can navigate complex warehouse environments, pick and pack orders, and even collaborate with human workers.
The efficiency gains from warehouse robots are staggering. They can work 24/7, reduce errors and significantly speed up order fulfillment. As e-commerce continues to grow, expect to see more of these high-tech helpers in warehouses across the country.
Frequently Asked Questions
How often should I clean my bidet seat?
Clean your bidet seat weekly with a mild, non-abrasive cleaner to maintain hygiene and prevent buildup.
Can I use my bidet if the water pressure is low?
While it will function, low water pressure may reduce cleaning effectiveness. Check your water supply and bidet settings.
Is it normal for my bidet to make noise?
Some noise is normal, but excessive or unusual sounds could indicate a problem. Consult your manual or a professional.
Can I install a bidet seat myself?
Most bidet seats are designed for DIY installation, but if you are unsure. It is miles satisfactory to consult a expert plumber.
What should I do if my bidet seat is leaking from multiple places?
If you have tried the steps in this guide and still have multiple leaks, it may be time to replace the entire unit.
Conclusion
Fixing a leaky toilet is essential for saving water and avoiding damage. By identifying the leak source and following simple steps, you can tackle the issue efficiently. Replace worn parts like flappers or seals, and ensure tight connections.
Regular maintenance helps prevent future leaks. With basic tools and a bit of patience, you can restore your toilet’s functionality. A quick fix can lead to long-term benefits, ensuring a smoothly operating bathroom fixture.

